Colby Jack cheese is loved for its creamy texture, marbled appearance, and delicious flavor. Making it at home allows you to enjoy fresh, flavorful cheese while learning a fun and rewarding skill. With just a few simple tools and ingredients, you can create your own perfect block of Colby Jack cheese to use in sandwiches, meals, or as a tasty snack. Let’s dive in!
The Basics of Colby Jack Cheese
Cheese is a magical food that brings people together, whether it’s melted on a sandwich or enjoyed as a snack. One type that stands out for its beauty and taste is Colby Jack cheese. With its golden and white swirls, it looks as delightful as it tastes. But what exactly is Colby Jack cheese, and how is it made? Let’s explore this creamy, marbled wonder step by step.
What Is Colby Jack Cheese?

Colby Jack cheese is a perfect partnership between two popular American cheeses: Colby and Monterey Jack. Each brings its own character to the table, making this cheese flavorful, versatile, and downright irresistible.
Colby cheese is mild and creamy, with a slightly tangy kick. It’s named after the small town of Colby, Wisconsin, where it was first created. Monterey Jack, on the other hand, has a softer, more buttery flavor. When these two are combined, they form Colby Jack—a semi-soft cheese that’s both rich and smooth, perfect for almost any dish.
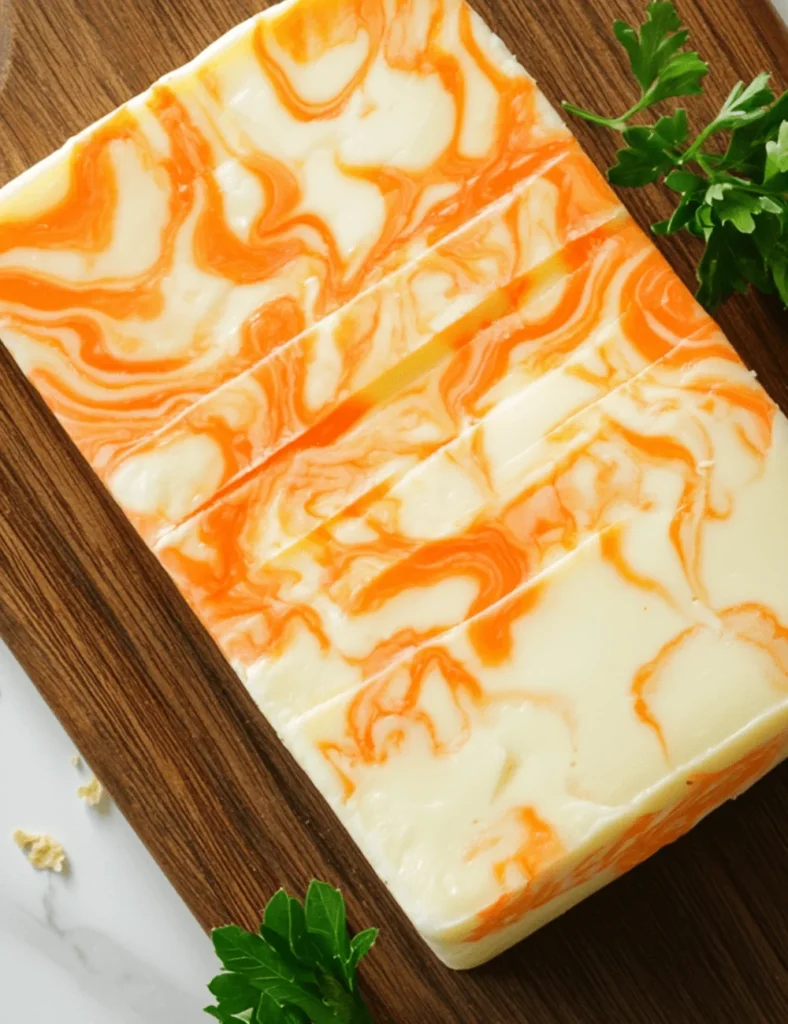
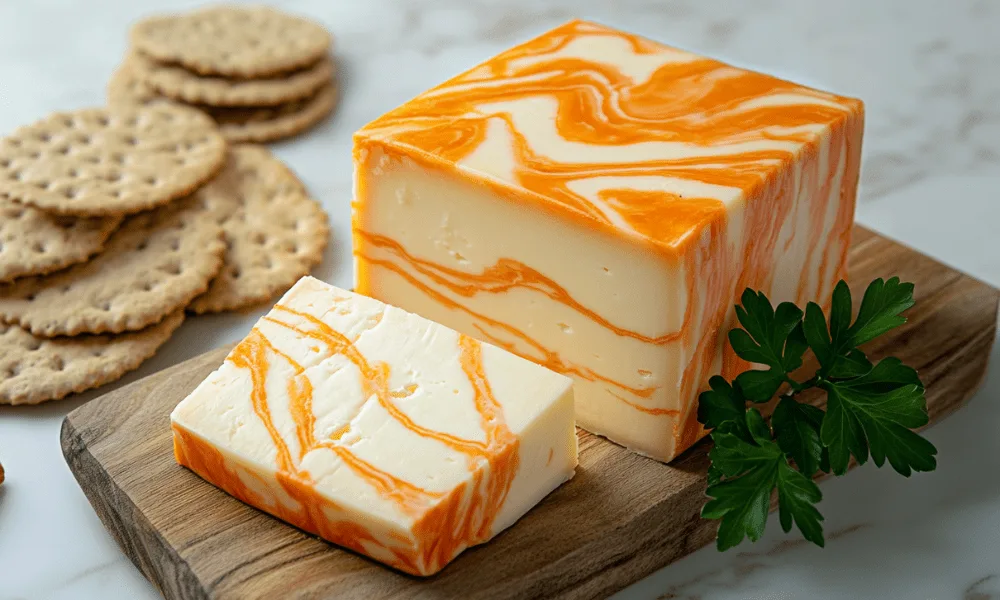
The most noticeable thing about Colby Jack cheese is its marbled appearance. Those golden and white streaks aren’t just pretty—they’re the result of blending curds from Colby and Monterey Jack before the cheese is pressed. This blending doesn’t just mix colors; it creates a balance of flavors. The mildness of Monterey Jack softens the tang of Colby, making the cheese pleasant for everyone, even picky eaters!
Colby Jack is incredibly versatile. You can shred it onto tacos, melt it on burgers, or enjoy it plain with crackers. It’s a cheese that brings out the best in simple meals and makes every bite a little more special.
The Science Behind Cheese-Making
Cheese-making might seem like magic, but it’s really a mix of science and art. At its core, cheese is all about transforming milk into something solid, flavorful, and long-lasting. The process has been perfected over thousands of years, but the basic steps remain the same.
It all starts with milk, which contains proteins, fats, and sugars. To make cheese, you need to curdle the milk. This means separating the solids (curds) from the liquid (whey). Curds are what eventually become cheese, while whey is often discarded or used in other recipes.
Curdling happens with the help of an enzyme called rennet, which can come from plants, microbes, or animals. For halal cheese, we use plant-based or microbial rennet. When rennet is added to warm milk, it causes the proteins to stick together, forming curds.
Once the curds form, they’re cut into smaller pieces and gently heated. This step removes even more whey and gives the curds the right texture. Afterward, the curds are pressed together into molds and left to age. Aging is where the magic really happens—it’s what gives cheese its flavor, texture, and aroma.
For Colby Jack cheese, the process is slightly different because two types of cheese are combined. Both Colby and Monterey Jack curds are prepared separately, then mixed together just before pressing. This careful blending creates the marbled look and balanced flavor that Colby Jack is known for.
Isn’t it amazing how milk can turn into something so delicious with just a few simple steps? Now that you know the basics of Colby Jack cheese and the science behind it, you’re one step closer to making it yourself!
Necessary Equipment for Cheese Making

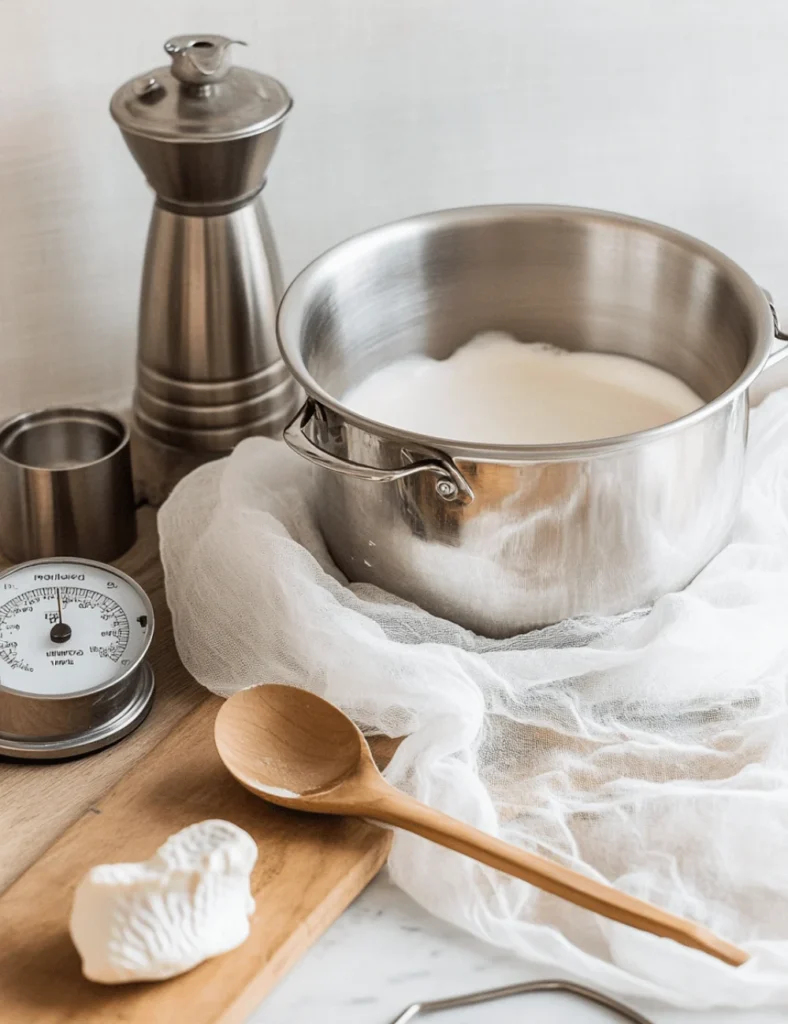
Cheese-making doesn’t require a fancy kitchen, but there are a few must-have tools to ensure the process goes smoothly. With the right equipment, you’ll feel like a pro, even if it’s your first time making cheese.
Here’s what you’ll need:
- Large Pot: A heavy-bottomed pot is essential for heating the milk evenly. Stainless steel works best because it doesn’t react with the ingredients.
- Thermometer: Precision is key in cheese-making, and a food thermometer helps you monitor the temperature of your milk at every step.
- Cheesecloth: This is used to strain the curds and separate them from the whey. Look for a fine-mesh cheesecloth to catch all the curds.
- Ladle and Spoon: You’ll need these to stir the milk and scoop out the curds. Wooden or stainless steel tools are ideal.
- Cheese Mold: This shapes the cheese and gives it a uniform look. Molds with holes allow whey to drain as the cheese is pressed.
- Cheese Press: A press applies pressure to the curds, helping them bind together into a solid block. While you can buy a professional press, a DIY setup works too.
- Measuring Cups and Spoons: Accuracy matters, so be sure to measure ingredients like rennet and salt precisely.
- Kitchen Scale: Some recipes require weighing ingredients like curds, so a scale can be handy.
These tools make the process easier, but don’t worry if you’re missing one or two. You can always improvise with items you already have at home.
Ingredients for Making Colby Jack Cheese

The heart of any good cheese is its ingredients, and Colby Jack is no exception. When making halal cheese, it’s crucial to use ingredients that meet Islamic dietary guidelines.
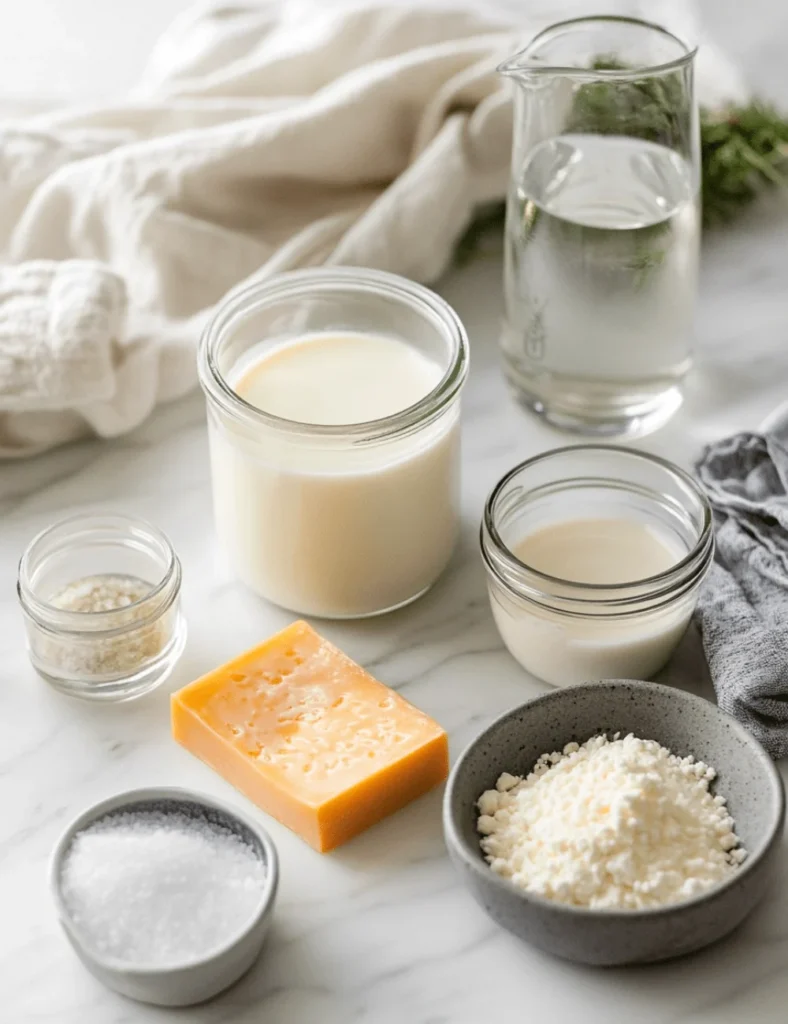
Here’s a list of ingredients you’ll need:
- Milk: Fresh, whole milk is best for cheese-making. Look for milk that’s free of additives and preservatives for a better flavor.
- Halal Rennet: Rennet is the enzyme that curdles the milk. For halal cheese, use plant-based or microbial rennet. These options are widely available and work just as well as animal-derived rennet.
- Starter Cultures: These are good bacteria that give the cheese its flavor and texture. Many cultures are halal, but it’s always wise to check the label.
- Salt: Cheese-making salt is used to season the cheese and preserve it. Avoid iodized salt, as it can interfere with the process.
- Annatto: This natural food coloring gives Colby cheese its signature orange color. Annatto is plant-based and halal.
- Filtered Water: You’ll need clean, chlorine-free water to dilute the rennet and prepare the cultures.
Double-checking the halal status of your ingredients is an important step. Thankfully, many stores and online shops offer halal-certified cheese-making supplies.
Preparing for the Cheese-Making Process
Before diving into the cheese-making process, preparation is everything. Think of this as setting the stage for a smooth and successful experience. From cleaning your tools to ensuring your ingredients are halal, every little step matters. Let’s go through the basics to get your workspace and ingredients ready!
Sanitizing Equipment
Cheese-making is all about precision, and keeping your tools clean is one of the most important steps. Even a tiny bit of dirt or bacteria can spoil the cheese or change its flavor. So, before you start, take some time to sanitize all your equipment.
Start by washing everything—pots, spoons, molds, thermometers—with hot, soapy water. Once cleaned, rinse thoroughly to remove any soap residue. After that, you can sanitize your tools using boiling water or a food-safe sanitizer. Boiling water is a simple and effective option; just dip your tools into the water for a few minutes and let them air-dry.
Why is sanitizing so crucial? Cheese-making relies on good bacteria from the starter culture. If unwanted bacteria sneak in, they might compete with the good ones, leading to bad smells or a ruined batch of cheese. By taking this step seriously, you’re ensuring your cheese has the best chance to turn out delicious.
Rennet and Other Ingredients
Once your tools are sparkling clean, it’s time to focus on the ingredients. For halal cheese-making, special attention is needed to ensure every ingredient complies with Islamic dietary guidelines.
The most important ingredient to check is rennet, as it’s responsible for curdling the milk. Look for halal-certified rennet, which is often plant-based or microbial. These are widely available online or in specialty stores.
Next, don’t forget to check your starter cultures. Most are halal, but it’s always smart to read the label and confirm their source. Avoid any cultures that mention animal enzymes unless they’re clearly halal-certified.
Other simple ingredients, like salt and milk, are usually halal, but if you’re unsure, it doesn’t hurt to double-check. Using fresh, whole milk from a trusted source is ideal because it affects the flavor and quality of the cheese.
Friendly Workspace
Now that your tools and ingredients are ready, let’s take a moment to set up your workspace. A clean, organized, and halal-friendly environment is key to making cheese that you can enjoy with confidence.
Start by wiping down your counters and any surfaces you’ll be using. Make sure there are no traces of non-halal ingredients or foods from previous cooking. Even small amounts of residue from non-halal items could compromise the halal status of your cheese.
Use separate utensils and cutting boards if you’ve previously prepared non-halal food on them. If you’re unsure about something, it’s better to replace it or sanitize it thoroughly.
Lastly, keep your workspace calm and clutter-free. Cheese-making is a step-by-step process that requires focus, so a neat environment helps you stay on track.
With sanitized tools, halal ingredients, and a clean workspace, you’re now fully prepared to start the cheese-making journey. The next steps will bring everything together, turning simple ingredients into a delicious block of Colby Jack cheese! Ready to proceed?
Step-by-Step Instructions to Make Colby Jack Cheese
Making Colby Jack cheese at home is a fun and satisfying process. It may seem complex, but when you break it down into simple steps, it becomes manageable—and even enjoyable. Each stage has its purpose, and together, they turn milk into a delicious block of cheese. Let’s take it step by step!
Step 1: Preparing the Milk
Start with fresh, whole milk. The better the quality of your milk, the better your cheese will taste. Pour the milk into a large, sanitized pot. Slowly heat it over low to medium heat until it reaches 86°F (30°C). Use a food thermometer to keep the temperature precise. Stir gently as it heats to prevent the milk from scorching at the bottom.
This step is all about creating the right environment for the starter culture and rennet to work. Heating the milk gently ensures that it’s warm enough to activate the ingredients without killing any helpful bacteria.
Once the milk reaches the correct temperature, turn off the heat and get ready to add the magic ingredients.
Step 2: Adding Halal Starter Culture and Halal Rennet
Next, sprinkle your halal starter culture evenly over the surface of the warm milk. Let it sit for about 2-3 minutes to hydrate before stirring it in gently with an up-and-down motion. Be careful not to stir too vigorously—you don’t want to disturb the milk too much. Cover the pot and let the milk rest for about 30-45 minutes.
After the starter culture has done its work, it’s time to add halal rennet. Dilute the rennet in a small amount of cool, chlorine-free water (about 1/4 cup). Pour the mixture into the milk while stirring gently for about 30 seconds. Stop stirring and let the milk sit, undisturbed, for 30-40 minutes.
During this time, the milk will begin to set and form a gel-like consistency. You’ll know it’s ready when you can gently press the surface with a spoon, and it breaks cleanly (this is called a “clean break”).
Step 3: Cutting the Curd
Once the milk has set, it’s time to cut the curd. Use a long knife to slice the curd into small, even cubes. Start by cutting vertical lines, then turn the pot and cut horizontal lines to create a grid pattern. Aim for 1/2-inch cubes, but don’t worry if they’re not perfect.
Cutting the curd allows the whey (the liquid) to separate from the curds (the solids). The smaller the curd pieces, the more whey will be released. Let the cut curds rest for about 5-10 minutes to firm up slightly before moving on to the next step.
Step 4: Cooking and Stirring the Curd
Turn the heat back on and slowly raise the temperature of the curds to 102°F (39°C). Stir the curds gently and continuously as they heat. This prevents them from clumping together and ensures even cooking.
As the curds cook, they will shrink and firm up, releasing even more whey. This step is crucial for achieving the right texture in your cheese. Once the curds reach the target temperature, maintain it for about 30 minutes, continuing to stir gently.
When the curds are firm and springy to the touch, they’re ready for the next step. Turn off the heat and let the curds settle at the bottom of the pot.
Step 5: Draining and Pressing the Curd
Carefully pour off the whey, leaving only the curds behind. You can use a ladle or cheesecloth to help with this process. Once most of the whey is drained, transfer the curds into a cheese mold lined with cheesecloth.
Fold the cheesecloth over the curds and place a weight on top of the mold. This presses the curds together and removes any remaining whey. Press the cheese for about 4-6 hours, flipping it occasionally to ensure even pressure.
At the end of this step, you’ll have a solid block of cheese ready for the next stage.
Step 6: Blending Halal Colby and Monterey Jack Cheeses
To create the signature marbled look of Colby Jack cheese, you’ll need to blend curds from two different cheeses: Colby and Monterey Jack. Prepare each cheese separately, following the same steps above. Once both are ready, gently mix the curds together before pressing them into the mold.
The blending process is what gives Colby Jack its beautiful swirl of yellow and white. This step is also when the flavors from both cheeses start to combine, creating the perfect balance of tangy and buttery.
Step 7: Aging the Cheese
Once your cheese is pressed, it’s time to age it. Remove the cheese from the mold and cheesecloth, then place it on a clean surface to air dry for 1-2 days. Flip the cheese occasionally to ensure it dries evenly.
After drying, wrap the cheese in wax or place it in an aging container. Store it in a cool, humid place, such as a cheese cave or refrigerator, at around 50-55°F (10-13°C). Let the cheese age for 4-6 weeks, flipping it every few days to ensure even aging.
As the cheese ages, its flavors will deepen, and the texture will become smoother. Once it’s ready, slice into your homemade Colby Jack and enjoy the fruits of your labor!
Tips for Making Perfect Colby Jack Cheese
Making Colby Jack cheese at home is exciting, but it’s not without its challenges. Like anything new, there might be moments where things don’t go as planned. But don’t worry! With these tips, you’ll be able to tackle common issues, maintain halal integrity, and store your cheese like a pro.
Heading 3: Common Challenges and Solutions
Cheese-making can feel a bit tricky, especially the first time. Here are some common challenges you might face and how to solve them:
- Curd Didn’t Set Properly: This can happen if the milk temperature was too high or too low. Always check your thermometer to ensure you’re within the right range. Also, make sure your rennet hasn’t expired—it’s a key ingredient!
- Curds Are Too Soft: Soft curds might mean the rennet wasn’t mixed properly or the milk wasn’t fresh enough. Stir the rennet thoroughly, and always use high-quality milk for the best results.
- Cheese Has an Odd Taste: This could be due to contamination. Double-check that all equipment is sanitized and your ingredients are fresh.
- Whey Didn’t Drain Completely: If the whey is trapped, try cutting your curds smaller or pressing them with slightly more weight during the draining process.
Remember, every batch of cheese teaches you something new. If something doesn’t go as planned, don’t be discouraged. Take notes, adjust next time, and most importantly—enjoy the process!
Heading 3: Ensuring Halal Integrity Throughout the Process
Maintaining halal integrity is essential for making Colby Jack cheese that you can enjoy with peace of mind. From the very start, every ingredient and tool you use must meet halal requirements.
Here’s how you can stay on track:
- Double-Check Ingredients: Look for halal-certified labels on rennet, starter cultures, and any other ingredients. If a product doesn’t have a clear label, do some quick research or contact the manufacturer for clarification.
- Separate Halal Tools: Use utensils, molds, and cutting boards that haven’t been in contact with non-halal items. If you’ve used these tools for other foods, sanitize them thoroughly before starting.
- Avoid Cross-Contamination: Keep your workspace clean and free from non-halal food residue. Wipe down counters and surfaces before you begin.
- Stay Mindful While Aging: If you’re aging your cheese, make sure it’s stored in a clean, halal-friendly space away from other foods that could compromise its status.
By following these steps, you can be confident that your cheese remains halal from start to finish.
Heading 3: How to Store Halal Cheese Properly
Once you’ve made your Colby Jack cheese, proper storage is key to keeping it fresh and flavorful. Homemade cheese doesn’t contain the preservatives found in store-bought cheese, so it needs a little extra care.
Here’s how to store your cheese:
- Wrap It Well: Use cheese paper or wax paper to wrap your cheese. Avoid plastic wrap, as it can trap moisture and lead to mold growth.
- Refrigerate: Store the wrapped cheese in the refrigerator at a temperature between 35-40°F (1-4°C). The cheese will stay fresh for about 2-3 weeks.
- Freeze for Longer Storage: If you want to keep your cheese for longer, you can freeze it. Wrap it tightly in wax paper and then place it in a freezer-safe bag. Thaw it in the fridge when ready to use.
- Check Regularly: Homemade cheese can develop mold if not stored properly. If you spot mold, carefully cut it off with a clean knife, ensuring none is left behind.
Good storage not only preserves your cheese but also enhances its flavor over time. It’s like giving your cheese a little love even after it’s made!
Making Colby Jack cheese at home is a journey full of learning and flavor. With these tips, you’ll be well on your way to crafting perfect cheese every time.
Frequently Asked Questions
How Long Does It Take to Make Colby Jack Cheese?
The cheese-making process takes 6-8 hours on the first day. Then, the cheese needs to age for 4-6 weeks to develop its flavor.
What’s the Best Way to Blend Colby and Monterey Jack Cheeses?
Prepare the curds for each cheese separately. Then mix them gently in the mold before pressing to create the marbled look.
How Do I Know If My Cheese Is Halal?
Use halal-certified rennet, starter cultures, and annatto. Sanitize your tools and workspace to avoid contamination with non-halal items.
Can I Customize the Recipe?
Yes, you can add halal-friendly herbs or spices to the curds for extra flavor. Just be careful not to interfere with the cheese-making process.
How Do I Store Cheese After It’s Made?
Wrap the cheese in wax paper and store it in the fridge. For long-term storage, freeze it in a sealed bag and thaw in the fridge when needed.
Versatile Pairings for Colby Jack Cheese
- Beef Sausage: Types, Recipes, and Benefits: Could pair well with Colby Jack cheese in a charcuterie board or hearty recipes.
- Taco Soup with Fritos: A perfect match, as Colby Jack cheese is great for melting into soups.
- Purple Sweet Potato Breakfast Recipes: Highlighting creative breakfast ideas that could incorporate cheese as a topping or filling.
- Ditalini Pasta: Pasta and cheese pair naturally, and this could suggest incorporating Colby Jack cheese into a creamy pasta dish.
Conclusion
Making halal Colby Jack cheese at home is a rewarding journey that combines tradition, creativity, and mindfulness. By carefully selecting halal-certified ingredients, sanitizing your equipment, and following the steps, you can create a delicious cheese that’s perfect for your family.
The process may seem challenging at first, but with patience and practice, it becomes much easier. Whether you’re blending Colby and Monterey Jack curds or experimenting with flavors, each batch will be unique and special. Plus, knowing that your cheese is completely halal gives you peace of mind and makes the experience even more enjoyable.
So, roll up your sleeves, gather your tools, and dive into the world of cheese-making. There’s something magical about turning simple ingredients into a block of creamy, flavorful cheese that you made with your own hands. Enjoy every slice, every bite, and every moment of this delicious adventure!


