Buffalo Cauliflower Wings bring the heat, the crunch, and all the flavor of the classic without the guilt. They’re bold, fun to eat, and perfect for game night or any night you need a crave-worthy snack. Stick around, because once you try these, you’ll be making them again and again.
Why You’ll Love These Buffalo Cauliflower Wings
- Perfect for game day or weeknight indulgence
- Crispy outside, tender inside (no frying needed)
- Satisfies wing cravings with a plant-based twist
What You’ll Need From Your Pantry

Grab your mixing bowl and let’s chat ingredients. Each one pulls its weight here, honey.
Cauliflower: This is your “wing” base. Go for a big ol’ head and break it into hearty florets—not too small, or they’ll shrink in the oven.
Flour & Cornstarch: This dynamic duo builds a batter that crisps up beautifully without deep-frying. Think tempura-light but sturdy enough to carry all that saucy goodness.
Spices (Garlic Powder, Onion Powder, Paprika): Flavor foundations. These keep the coating from being bland and boring.
Salt: Just enough to bring out all the savory bits.
Water: Keeps the batter smooth and silky. Not too runny, not too thick.
Buffalo Sauce: You can use bottled, but honey, if you’ve got time, stir together Frank’s RedHot with melted butter and a little garlic powder.
Optional: Ranch or Blue Cheese Dip: Because you’re gonna need something to cool things down (and dip into, obviously).
Let’s Get Saucy: Step-by-Step Instructions

Turn on that oven to 450°F and let’s go.
1. Prep the Cauliflower: Wash and dry it well. Moisture = sogginess, and we want crisp. Chop into thick, wing-sized florets. Don’t get cute with tiny bites.
2. Make the Batter: In a large bowl, whisk flour, cornstarch, garlic powder, onion powder, paprika, and salt. Slowly add water and stir until smooth and silky, no lumps allowed.
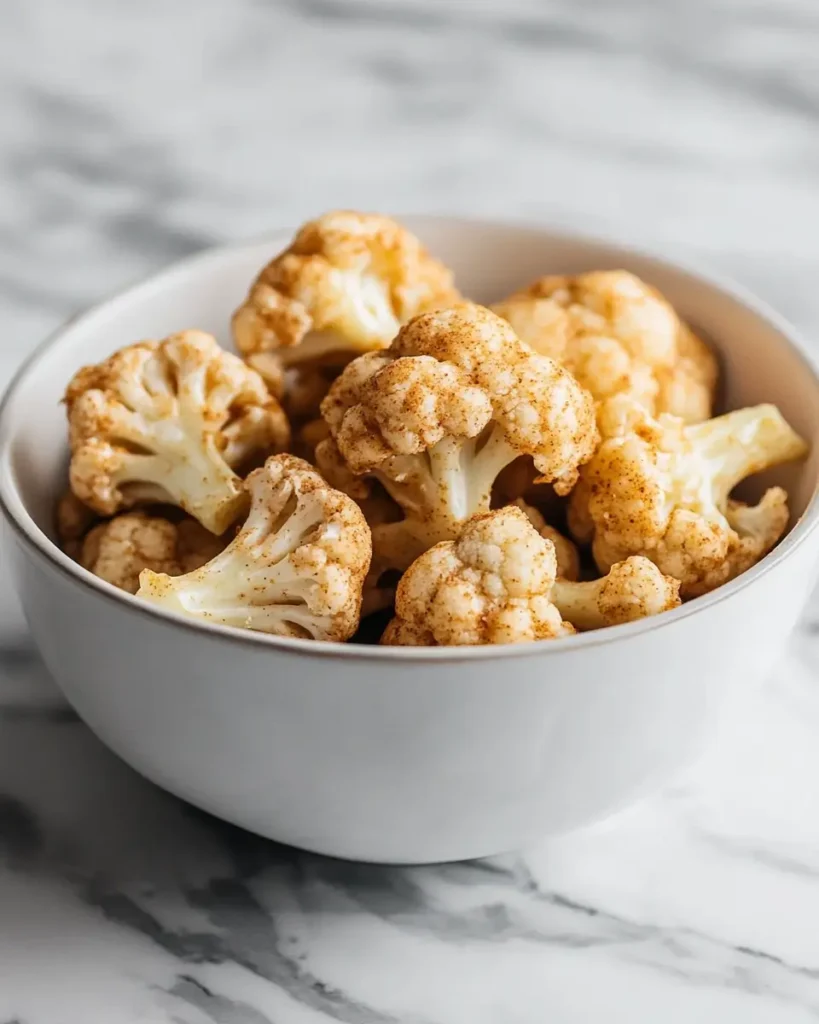
3. Coat the Cauliflower: Toss the florets in that glorious batter. Make sure each piece is well coated like it’s headed to a red carpet.
4. Bake Round One: Arrange florets on a parchment-lined baking sheet. No parchment? Don’t risk it—they’ll stick like crazy. Bake for 10 minutes, flip carefully, then bake another 10. You’re building that crust.
5. Sauce & Bake Again: Brush with buffalo sauce generously. Back in the oven they go—12 to 15 more minutes until edges are browned and crispy.

6. Final Brush & Serve: Out of the oven, brush with more sauce (yes, more!) and serve hot. Maybe not right-outta-the-oven ho.

Common Mistakes to Avoid
Let’s save you a kitchen heartache or two. First, don’t crowd the pan. Overlap = soggy wings. Next, don’t skip the parchment paper—trust me, they will stick, and you will cry. Lastly, using wet cauliflower? Recipe for disaster. Pat those babies dry like you’re towel-drying a puppy.
How to Serve These Handheld Beauties
Stack ‘em high, sprinkle with chopped chives or green onions, and surround with ranch, blue cheese dip, and some crunchy celery and carrots.
You can also serve them with other yummy appetizers like meatballs or even these easy honey garlic meatballs. Add some mocktails or icy beers, and you’ve got appetizer party ideas folks will text you about for weeks.

Buffalo Cauliflower Wings
Ingredients
- – 1 large head cauliflower cut into florets
- – ⅔ cup all-purpose flour
- – ¼ cup cornstarch
- – 1 tsp garlic powder
- – 1 tsp onion powder
- – 1 tsp paprika
- – ½ tsp salt
- – ¾ cup water
- – ⅓ cup buffalo sauce plus more for brushing
- – Optional: ranch or blue cheese dressing for serving
Instructions
- Preheat oven to 450°F. Line a baking sheet with parchment paper.
- Whisk flour, cornstarch, garlic powder, onion powder, paprika, and salt in a bowl.
- Add water and whisk until smooth. Toss in cauliflower florets to coat completely.
- Arrange coated cauliflower on the baking sheet in a single layer. Bake 10 minutes, flip, and bake another 10.
- Brush with buffalo sauce and return to oven for 12–15 minutes until crisp.
- Brush again with warm buffalo sauce before serving.
Notes
- Pat cauliflower dry before battering to ensure crisp texture.
- Use gluten-free flour if needed.
- Store leftovers in fridge up to 3 days and reheat in air fryer.
- Double the batch for parties, this one goes fast!
FAQs
Why won’t my batter stick to the cauliflower?
This usually happens when the cauliflower is too wet. After washing, make sure to dry each piece thoroughly with a towel. You can also dust the florets in plain flour before dipping into batter—this helps the coating cling on like it means it.
How do I keep them crispy after baking?
Serve immediately or keep them in a warm oven (around 200°F) on a wire rack. Storing them in a sealed container will trap steam and soften them. If you’re making make ahead appetizers, reheat them in the oven to revive the crisp.
Can I use frozen cauliflower?
You can, but it won’t be as crispy. If you must use frozen, thaw and drain it completely, then pat dry. Keep in mind frozen florets may break down more during baking and lose structure.
Can I air fry instead of bake?
Absolutely! Air frying works wonders here. Set your air fryer to 400°F, cook for about 12–15 minutes, shaking halfway through. Then toss or brush with buffalo sauce and cook 2–3 minutes more to let the sauce bake in.
Here’s What I’d Say If We Were Chatting Over Coffee
These Buffalo Cauliflower Wings are just plain fun. They’re the kind of snack that brings people together, has them licking their fingers, and asking, “Wait—this isn’t chicken?” And honestly, isn’t that the dream? To serve food that makes folks pause, smile, and reach for seconds?
So whether you’re tossing them onto a platter of appetizers for a crowd or keeping ‘em all for yourself during a couch marathon, they’re gonna become one of your go-tos. And I’ll be right here cheering you on from my own messy, sauce-splattered kitchen.


