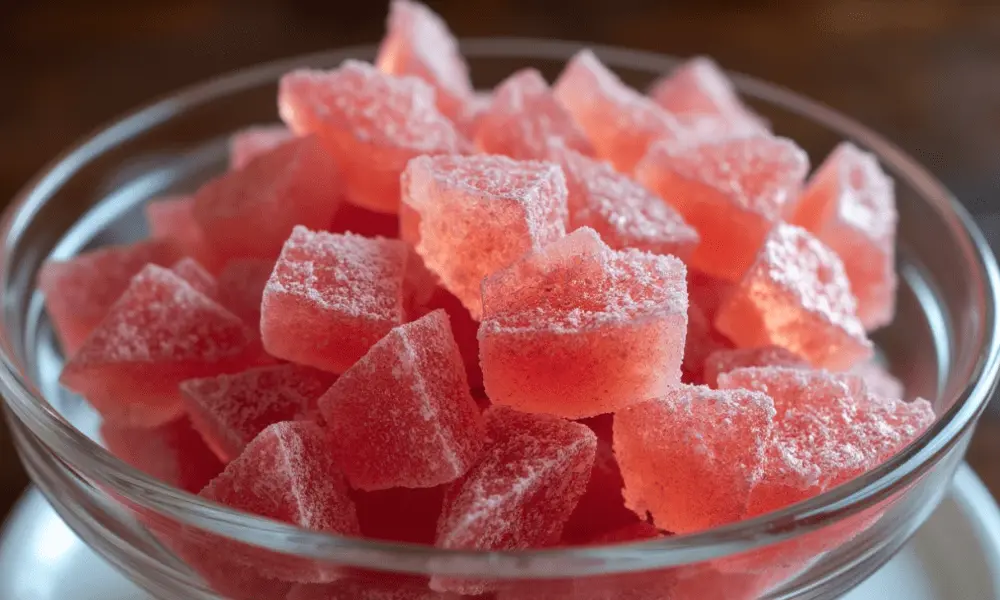
Crystal candy is where sugar meets sparkle edible magic that dazzles both the eyes and the taste buds. More than just a sweet, it’s a playful mix of art and science that delights kids, bakers, and curious minds alike. The best part? You can make it right at home. Let’s dive into the magic!
Table of Contents
What is Crystal Candy?
Crystal candy, often referred to as “rock candy,” is a type of sweet confection known for its striking crystalline structure. At its core, it’s made by crystallizing sugar through a simple process of evaporation and cooling. The result? Shimmering, crunchy candy that resembles glittering gemstones. It’s not just a treat for the taste buds but also a feast for the eyes.
What sets crystal candy apart from other confections is its unique texture and visual appeal. While traditional candies rely on smoothness and glossy finishes, crystal candy thrives on its rough, multifaceted surfaces that reflect light in mesmerizing ways. Whether dyed vibrant colors or left clear and natural, it never fails to dazzle.
But crystal candy isn’t just about looks—it’s versatile, too. It can be eaten as a standalone snack, used to sweeten beverages like tea or coffee, or employed as a decorative element for baked goods and desserts. Its ability to bring a touch of whimsy to any occasion is what makes it so beloved.
Ingredients and Tools Needed
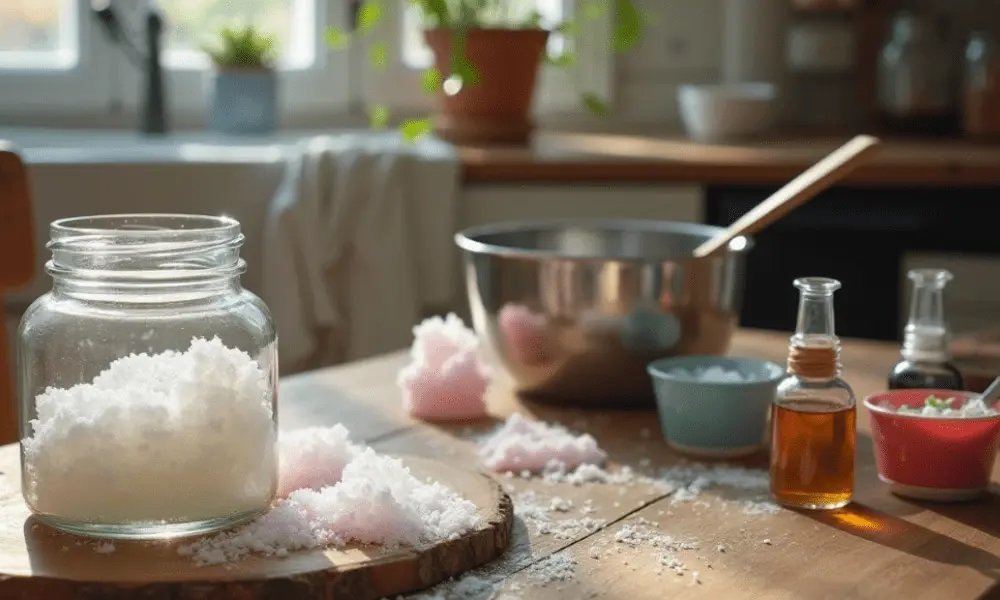
Creating crystal candy at home is both fun and straightforward, but having the right ingredients and tools is essential. Here’s everything you’ll need to get started on your candy-making journey:
Essential Ingredients for Crystal Candy
To craft beautiful crystal candy, you’ll need just a handful of simple ingredients:
- Sugar: The star of the show. Granulated sugar works best for crystal formation.
- Water: A key component that helps dissolve the sugar and creates the solution for crystallization.
- Food Coloring: Optional but highly recommended for adding a splash of color to your crystals.
- Flavoring Extracts: Vanilla, mint, or fruity flavors can elevate your candy beyond the ordinary.
“Think of sugar as the sculptor’s clay—it’s simple, yet capable of becoming something extraordinary.”
Must-Have Tools for Making Crystal Candy
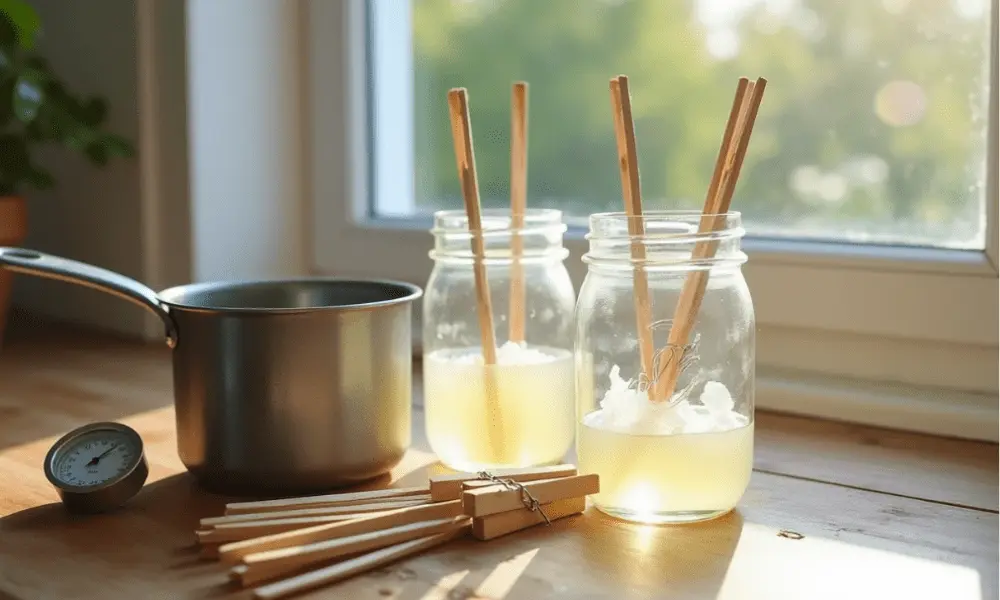
The right tools make the candy-making process smooth and enjoyable:
- Saucepan: For heating the sugar and water mixture.
- Wooden Skewers or String: The base on which the sugar crystals will form.
- Glass Jars: These serve as the containers for the sugar solution and allow the crystals to grow.
- Clothespins: To hold the skewers or strings in place, ensuring they don’t touch the sides of the jar.
- Thermometer (Optional): While not essential, it’s helpful to monitor the temperature of your sugar solution.
Substitutes
Don’t have all the ingredients or tools on hand? No worries! Here are some alternatives:
- Replace wooden skewers with clean popsicle sticks or metal rods.
- Swap out glass jars for tall cups or small bowls—just ensure they’re heat-resistant.
- For those avoiding artificial colors, natural food dyes from ingredients like beet juice or turmeric work wonderfully.
With just a few basic items, you can set the stage for creating dazzling crystal candy. The beauty of this process lies in its simplicity—you don’t need fancy gadgets or exotic ingredients to make something truly extraordinary. Once you’ve gathered everything, the real magic begins as you watch ordinary sugar transform into a sparkling masterpiece
Easy Step-by-Step Guide to Make Crystal Candy
Making crystal candy is like embarking on a magical experiment where sugar turns into sparkling crystals right before your eyes. Don’t worry if you’re not a seasoned chef—this recipe is beginner-friendly and easy to follow. Let’s break it down step by step.
1. Preparation
Before diving into the cooking process, it’s important to get everything ready. Crystal candy takes a bit of time and patience, so preparation is key.
- Prep Time: 15 minutes
- Total Time: 5–7 days (includes crystallization period)
Here’s what to do before you begin:
- Gather Ingredients and Tools: Make sure everything, from your sugar to your jars, is clean and within reach.
- Prepare Your Skewers or Strings: Dip your skewers or strings in water, then roll them in sugar. Let them dry. This step helps the crystals adhere more easily.
- Set Up Your Workspace: Choose a spot where your jars can sit undisturbed for several days. A calm, cool area works best.
2 . Cooking Process
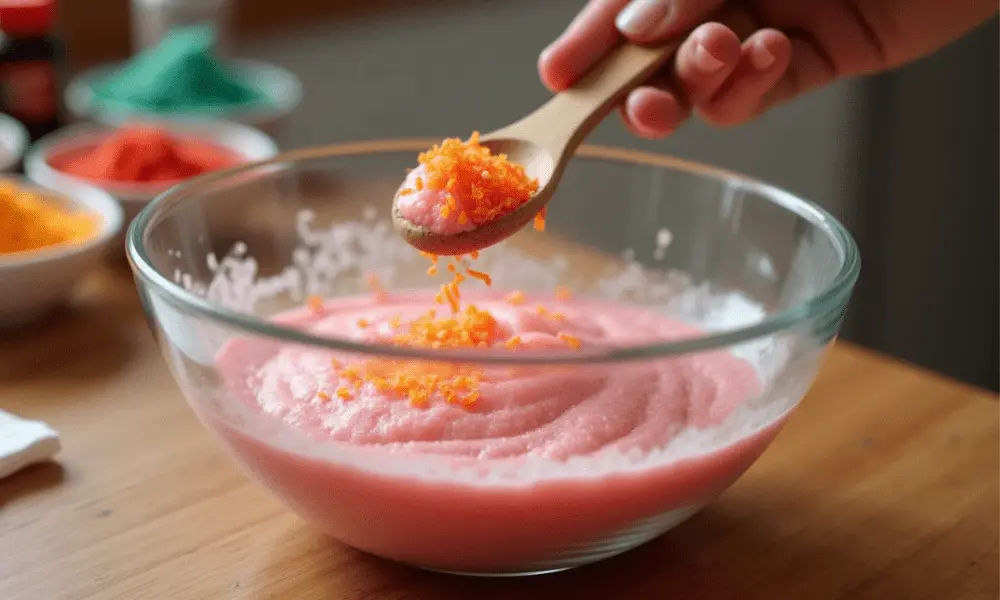
The cooking phase is where the magic begins. Heating sugar and water creates a supersaturated solution—the foundation for those stunning crystals.
- Heat the Ingredients: In a saucepan, combine 2 cups of sugar and 1 cup of water. Heat the mixture over medium heat, stirring continuously until the sugar is fully dissolved.
- Create the Supersaturated Solution: Once the sugar dissolves, add another cup of sugar and continue stirring. Repeat this step until the mixture thickens and no more sugar dissolves. You’re now working with a supersaturated solution.
- Add Color and Flavor (Optional): Remove the saucepan from the heat and stir in a few drops of food coloring and flavoring extract. This step is your chance to get creative!
3. Cooling and Shaping
This is where patience comes into play, but the results are well worth the wait.
- Pour the Solution into Jars: Carefully pour the hot sugar solution into your prepared jars.
- Insert Skewers or Strings: Place the sugar-coated skewers or strings into the jars, using clothespins to keep them suspended in the center. Ensure they don’t touch the sides or bottom.
- Let the Crystals Grow: Cover the jars loosely with paper towels to keep out dust, and leave them undisturbed for 5–7 days. During this time, sugar crystals will slowly form around the skewer or string.
- Harvest Your Candy: Once the crystals are large and fully formed, remove them from the jars and let them dry on a clean surface.
“Patience isn’t just a virtue—it’s the secret ingredient for making perfect crystal candy.”
Tips for Perfect Crystal Candy
Making crystal candy may seem simple, but small tweaks and tricks can make a big difference. Here are some insider tips to help you achieve flawless results:
Common Mistakes and How to Avoid Them
- Crystals Not Forming? Ensure your solution is truly supersaturated. If needed, reheat and dissolve more sugar.
- Cloudy Crystals? Use clean jars and filtered water to avoid impurities that can affect clarity.
- Skewers Touching the Jar? Secure them firmly with clothespins to keep them centered.
Perfecting crystal candy is as much about the process as it is about the result. By addressing these common pitfalls and paying attention to the details, you can create sparkling confections that are not only visually stunning but also a joy to make and share. A little patience and preparation go a long way toward ensuring your candy turns out flawless every time.
Flavor Variations
Why settle for plain sugar when you can infuse your crystal candy with delicious flavors?
- Citrus Twist: Add lemon or orange extract for a tangy kick.
- Mint Magic: Peppermint extract gives your candy a refreshing taste.
- Berry Blast: Use strawberry or raspberry extracts for fruity fun.
These variations are perfect for customizing your candy to suit any occasion or personal preference.
Presentation
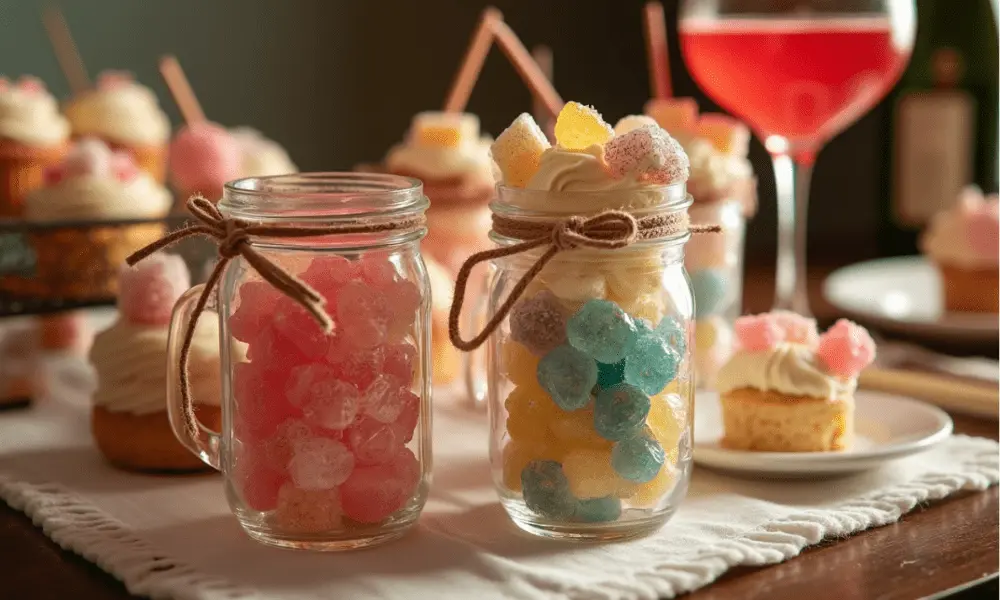
Crystal candy is as much about aesthetics as it is about taste. Here are some ideas for showcasing your creations:
- Gift Jars: Package your candy in mason jars with ribbons for a charming homemade gift.
- Dessert Toppers: Use smaller crystals as edible decorations for cakes, cupcakes, or ice cream.
- Cocktail Stirrers: Dip the ends of your skewers in crystal candy to add sparkle and sweetness to drinks.
No matter how you choose to present your crystal candy, its shimmering appearance and delightful taste are sure to make an impression. Whether gifted to a loved one, placed on a dessert table, or served as a unique cocktail garnish, crystal candy effortlessly elevates the occasion, leaving a lasting memory of sweetness and sparkle.
Creative Uses for Crystal Candy
Crystal candy is more than just a sweet treat—it’s a creative powerhouse with countless uses. From adding flair to desserts to making learning fun, these sparkling confections can enhance any occasion. Here’s how you can use crystal candy to dazzle your guests and ignite imaginations.
Cake Decorations
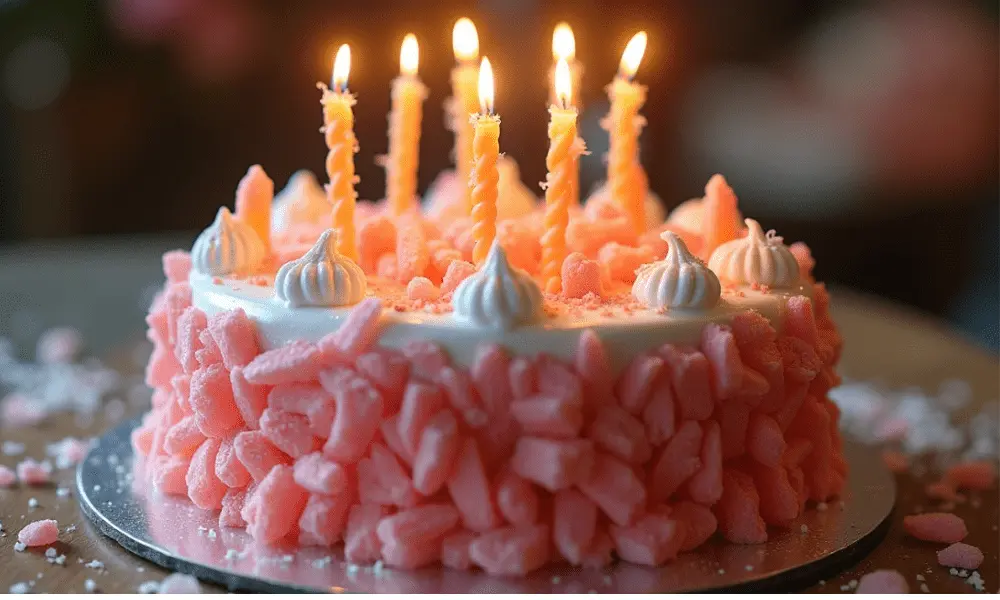
Imagine a birthday cake adorned with shimmering crystal shards, catching the light like real jewels. Crystal candy adds an enchanting touch to cakes, cupcakes, and other desserts. You can customize the candy’s colors to match a theme—think pastels for a baby shower or bold hues for a superhero party. Simply break the candy into smaller pieces and arrange them like a sparkling mosaic on your baked creations.
Party Favors and Gifts
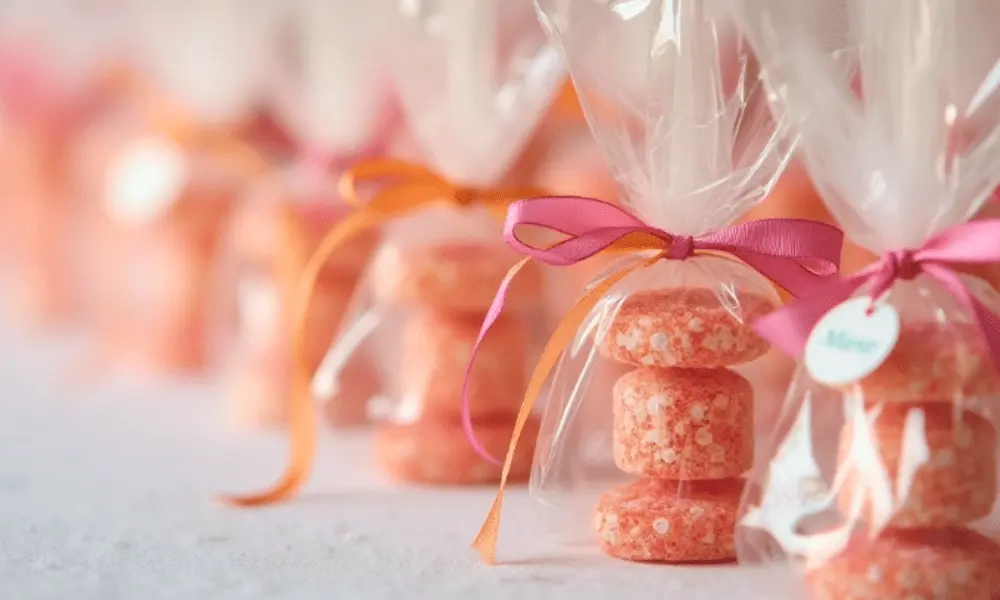
Crystal candy makes for unique and memorable gifts. Package individual sticks or clusters in clear cellophane bags, tie them with ribbon, and you’ve got an elegant party favor. They’re perfect for weddings, birthdays, and baby showers. Want to take it up a notch? Create personalized labels or tags with the recipient’s name for a thoughtful, handmade touch.
“A little sparkle goes a long way when gifting crystal candy—it’s like giving edible joy!”
School Science Projects

Crystal candy isn’t just a treat; it’s a science experiment in disguise. Teachers and parents can use it to explain concepts like supersaturation, evaporation, and crystal growth. Kids will love watching the crystals form over time and will gain a hands-on understanding of basic chemistry. Plus, they get to eat the results—how cool is that?
Crystal candy bridges the gap between science and fun, making it an excellent tool for sparking curiosity in young learners.
FAQs About Crystal Candy
Curious minds often have questions about crystal candy. Here are some of the most common queries and their answers to keep you informed and inspired.
Is crystal candy safe to eat?
Absolutely! Crystal candy is made with simple, edible ingredients like sugar and water, making it completely safe to eat. However, like any sugary treat, it should be enjoyed in moderation.
How long does it take to make crystal candy?
While the preparation and cooking process only take about 15 minutes, the real magic happens over the course of 5–7 days as the crystals slowly grow. Patience is key!
Can crystal candy be made with alternatives to sugar?
Traditional crystal candy relies on sugar for its crystalline structure. However, some sugar substitutes, like isomalt, may work. Keep in mind that the texture and flavor may vary slightly.
Before the Conclusion: Discover More Sweet Delights
Exploring the world of crystal candy is a delightful journey, but it’s just one of many sweet indulgences you can try. For an equally enchanting treat, consider diving into Moon Spell Cookies, a celestial dessert perfect for any occasion. If you’re intrigued by unique culinary traditions, our Traditional Gipfeli Recipe offers a simple yet delicious guide to Swiss pastries. And for those with a love for fusion desserts, the Ultimate Brookie Recipe might be your next baking adventure. Let your sweet tooth guide you to these creative recipes!
Conclusion
Crystal candy is more than just a sweet treat—it’s a testament to the magic that happens when science and creativity collide. From its dazzling, jewel-like appearance to its delicious crunch, it offers a sensory experience that few other confections can match. Whether you’re crafting it at home as a fun project, using it to adorn cakes and desserts, or sharing it as a thoughtful gift, crystal candy never fails to delight.
What makes crystal candy so special isn’t just its beauty or its taste—it’s the process. Watching tiny sugar crystals grow day by day is a reminder of the wonders of nature and patience. It’s a way to bring people together, whether you’re teaching kids about chemistry, creating memories with loved ones in the kitchen, or presenting a handmade favor that shows how much you care.
So why not let crystal candy brighten your next celebration or afternoon experiment? With just a few simple ingredients and a little time, you can create something truly magical—something that sparkles as brightly as the smiles it brings.
“Crystal candy reminds us that even the simplest ingredients can come together to create something extraordinary. All it takes is a little patience and a lot of love.”

