
Y’all, let me tell you if you’ve ever stared at a sack of dried black-eyed peas wondering, Will I ever use all these? then friend, this post is for you. Canning black-eyed peas changed my whole pantry game. They’re not just a New Year’s superstition down here in Tennessee they’re weeknight dinner gold, sealed and ready when you are.
Why You’ll Love This Recipe
- Hands-off prep once jars are sealed grab and go!
- Saves freezer space and grocery bills
- Fresh taste, no “canned” flavor just like homemade
Gather Up What You’ll Need
This is where we start feeling like homesteaders just you, a pressure canner, and a humble bag of beans. Here’s what each ingredient brings to the table:
- Black-eyed peas (dried): The star of the show earthy, creamy, and rich with Southern tradition.
- Water: Just enough to hydrate and cook our peas right in the jar.
- Canning salt (optional): Enhances flavor without overpowering. Totally up to you.
Let’s Can Some Peas Together
If you’re new to home canning recipes, don’t you worry I’ll walk you through it like we’re shoulder to shoulder in my kitchen. This recipe uses a pressure canner (no shortcuts here!) because legumes need that heat to get safe and shelf-stable.
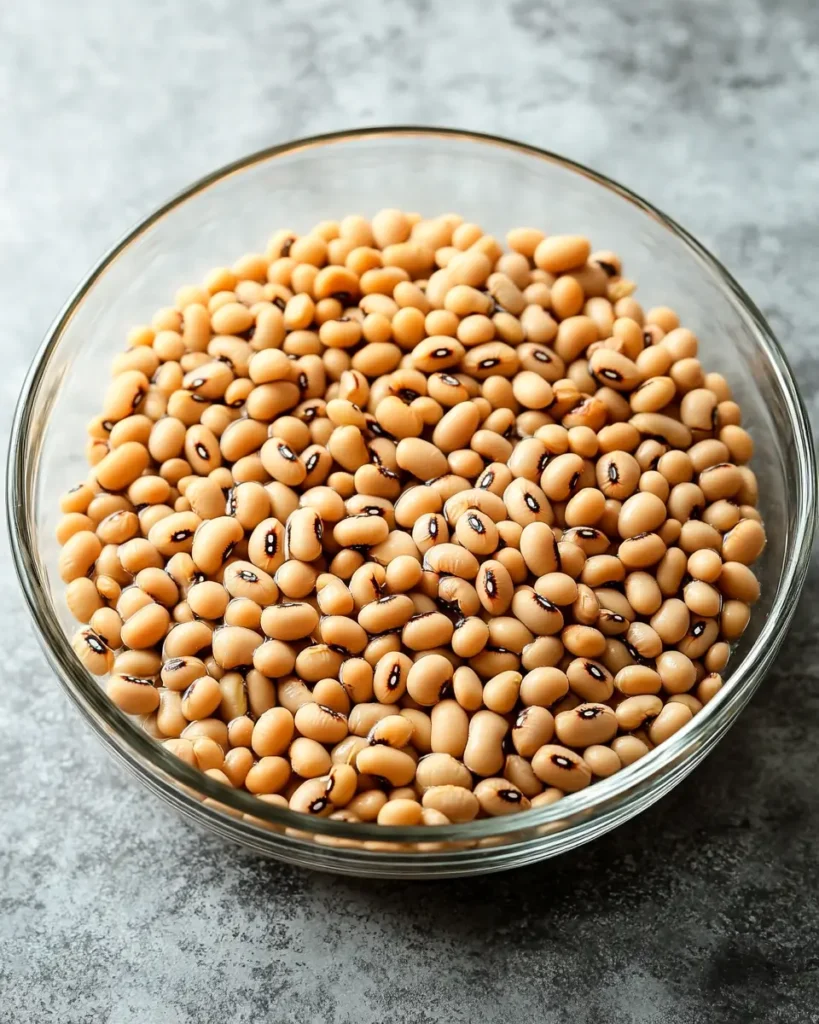
- Start by soaking your peas. You can go old-school and soak overnight, or do a quick soak by boiling them 2 minutes and letting them rest for an hour. Either way, this rehydration is key.
- Drain and rinse. Then simmer them in fresh water for about 30 minutes. Don’t worry if they’re not fully cooked they’ll finish in the jars.
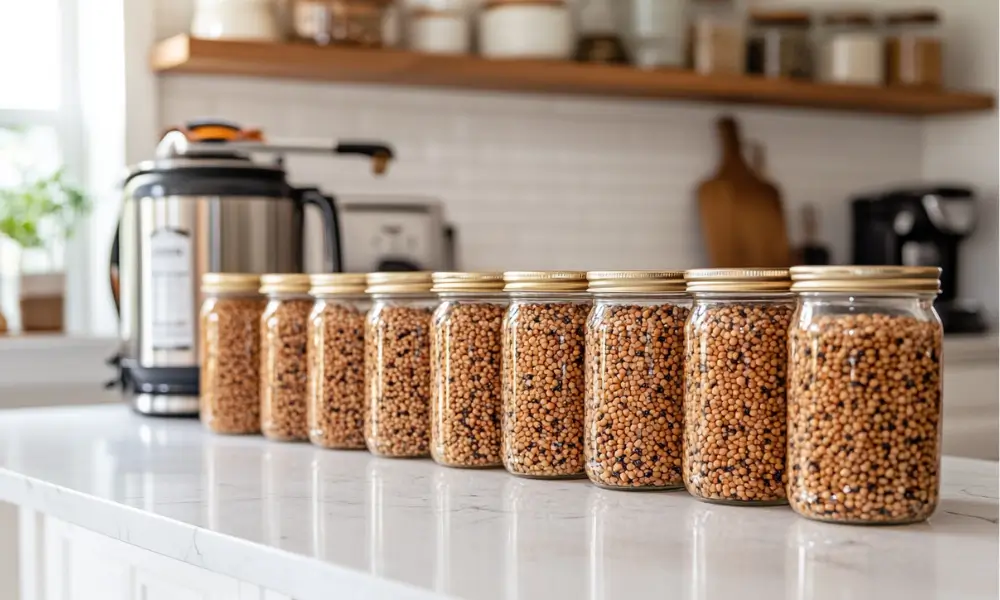
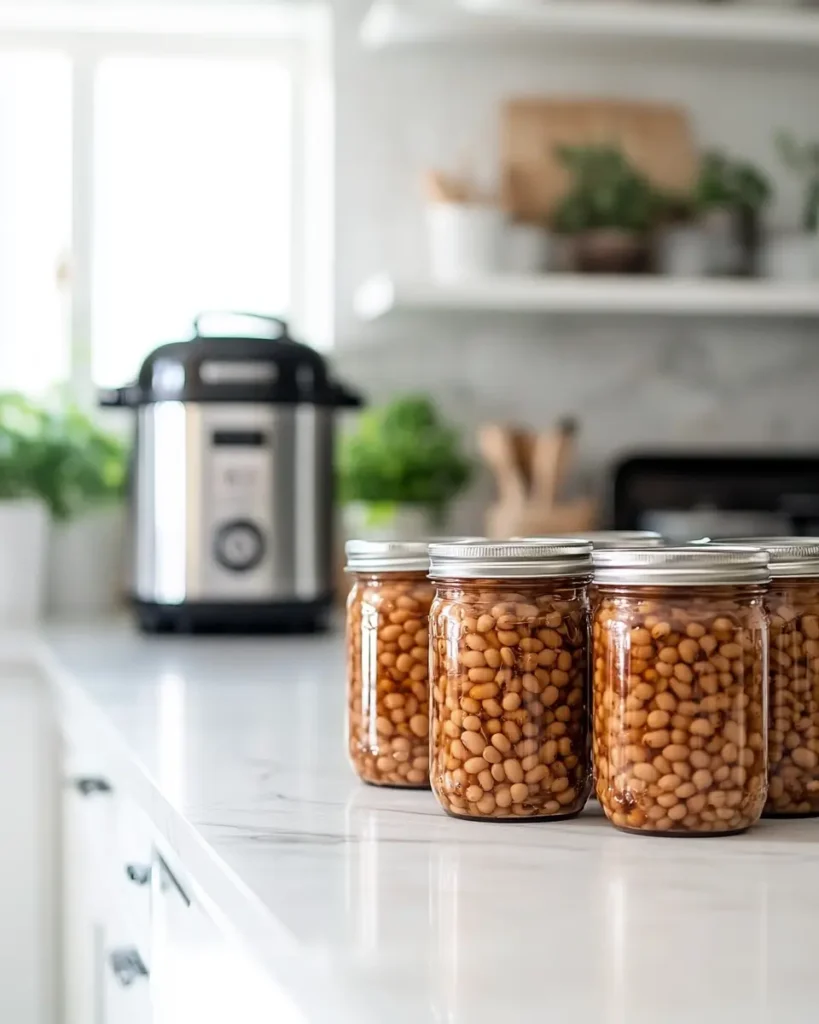
- Pack those jars with the hot peas, leaving about 1-inch headspace. Top off with the cooking water or fresh boiling water just make sure your liquid’s hot.
- Debubble, adjust headspace, wipe the rims clean, then seal with your lids and rings.
- Pressure can at 10 lbs pressure (or adjust for your altitude). Process pints for 75 minutes and quarts for 90. This is one of those pressure canning recipes that rewards patience with pantry convenience.
Once cooled, your jars are good for a year or longer just like mama used to do. And let me tell you, nothing beats pulling out a home-canned jar of black-eyed peas on a chilly night, stirring them into your favorite bean stew or Southern-style soup.
Common Mistakes To Avoid
We’ve all had a jar go rogue cloudy liquid, mushy beans, you name it. Here’s how to dodge the potholes in your canning black-eyed peas journey:
- Skipping the soak: Don’t even think about canning dried beans straight-up. They swell during processing and can block vents or break jars.
- Underfilling jars: Not enough water means uneven cooking and potentially unsafe food.
- Using soft beans: Fully cooked peas will turn to mush during canning. Aim for tender but not done.
Pro Tips From My Kitchen
Here’s what I’ve learned after many jars and one burnt fingertip too many:
Use wide-mouth jars for easier packing and scooping later. Trust me, you’ll thank me when you’re making a quick spicy chipotle bean bowl and don’t want to wrestle with a narrow-mouth pint.
Keep a towel handy not just for spills, but to gently set hot jars on post-processing. Sudden temp changes? Cracked jars.
Label everything with the date and type. Your future self needs to know if those are black-eyed or navy beans at a glance. A Sharpie is a canner’s best friend.
And here’s a little bonus from me to you your peas will taste even better after resting for 2-3 weeks. It’s like they mellow out and get cozier in the jar.
Canning Black-Eyed Peas the Southern Way
Equipment
- Pressure Canner
- Canning Jars (Pint or Quart)
- Jar Lifter
- Lids and Rings
- Large Pot
- Towels
Ingredients
Main Ingredients
- 3 lbs dried black-eyed peas sorted and rinsed
- water for soaking and cooking
- 1 tsp canning salt optional, per pint jar
Optional Seasonings
- 1 bay leaf optional, per jar
- 1 clove garlic optional, peeled
- smoked paprika a pinch, optional
Instructions
- Sort and rinse dried black-eyed peas to remove any debris.
- Soak peas overnight in plenty of water, or use the quick-soak method: boil for 2 minutes, cover, and let stand for 1 hour.
- Drain and rinse soaked peas. Simmer in fresh water for about 30 minutes to partially cook.
- Pack hot peas into hot sterilized jars, leaving 1-inch headspace. Add 1 teaspoon canning salt per pint if desired.
- Top with hot cooking liquid or boiling water, maintaining 1-inch headspace. Debubble and adjust if needed.
- Wipe rims clean, apply lids and rings fingertip-tight.
- Process jars in a pressure canner at 10 lbs pressure: 75 minutes for pints, 90 minutes for quarts (adjust for altitude).
- Allow canner to cool naturally before opening. Remove jars and let cool undisturbed for 12-24 hours.
- Check seals, label jars with date, and store in a cool, dark place for up to 12–18 months.
Notes
- For best flavor, let jars rest for 2–3 weeks before using.
- Avoid adding meats or fats before canning season with those when serving.
- Cloudy liquid is harmless and usually caused by minerals or bean starch.
A Little Bonus Nugget
This might sound wild, but you can season the water you pour into the jars before processing. I’ve added bay leaves, garlic cloves, even a pinch of smoked paprika. The seasoning softly infuses into the beans during processing, giving you a head start on any future Blackeyed Pea Recipes or soups.
But here’s the trick: skip anything fatty. No bacon bits or meat stock fat in home-canning can mess with seal quality and safety. Save those for when you pop the jar open and turn it into a meal.
How I Like To Serve ‘Em
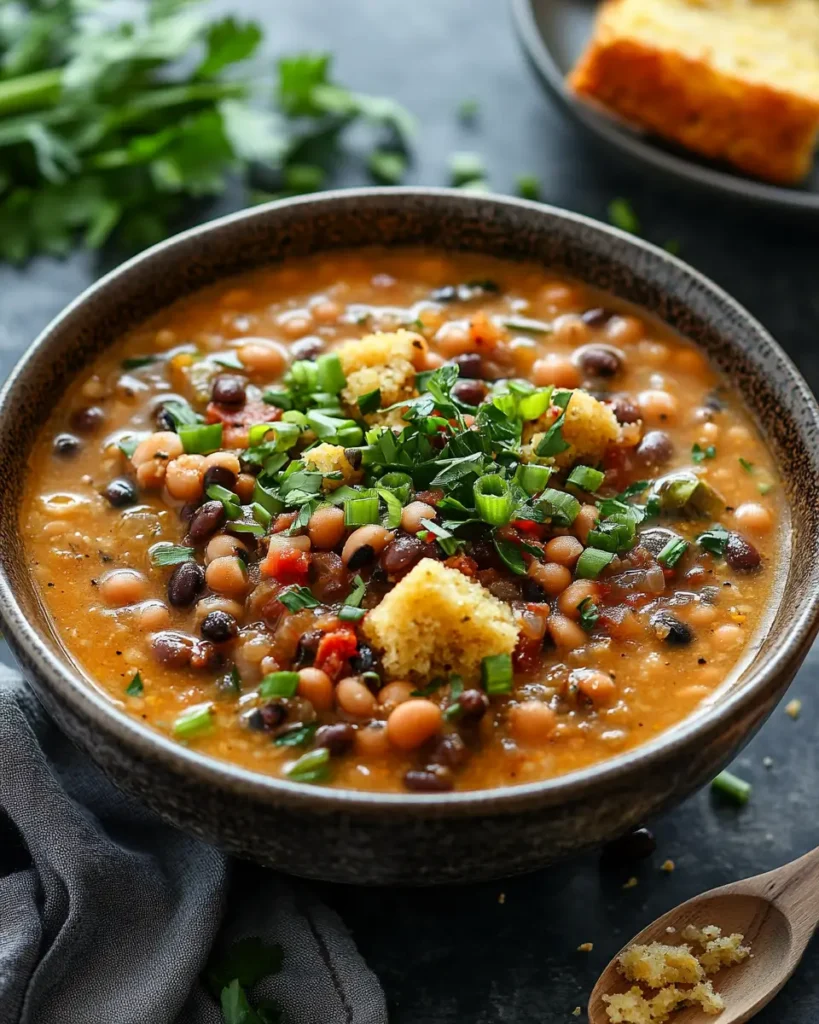
Canned black-eyed peas are a lifesaver come dinner time. I toss ‘em in a skillet with garlic and onions, serve them over cornbread, or mix them into a salad with a lemony vinaigrette and diced peppers. One of my favorite tricks? Use them to bulk up a leftover rice bowl with greens and hot sauce. Yum.
FAQs
Can I use canned black-eyed peas instead of dried in recipes?
Yes ma’am! That’s the beauty of having jars on hand. Any Black Eyed Peas Recipe calling for cooked or canned peas will work with your home-canned version just drain, rinse, and go. No extra simmering needed.
How long do home-canned black-eyed peas last?
Stored in a cool, dark pantry, your canning beans stash will last at least 12 months. I’ve used jars at 18 months with no issue. Just always check seals before opening and never eat anything that smells off.
Can I reuse lids when canning?
Afraid not, friend. Lids are one-time use. Even if they look fine, the sealing compound may not reseal properly. Stick with fresh lids for safe canning every time.
Why do my jars sometimes turn cloudy?
That’s usually minerals from hard water or starch from the beans—not harmful, just cosmetic. Use distilled water if it bothers you, but the peas will taste just fine either way.
From My Pantry to Yours
Canning black-eyed peas is one of those kitchen skills that feels a bit old-fashioned, but I promise it’s empowering. It’s cozy. And it makes dinner feel a whole lot easier when time’s tight. Next time you’re meal planning or looking for hearty blackeyed pea recipes, know that you’ve got homemade jars waiting to be turned into something special. You’ve got this.