
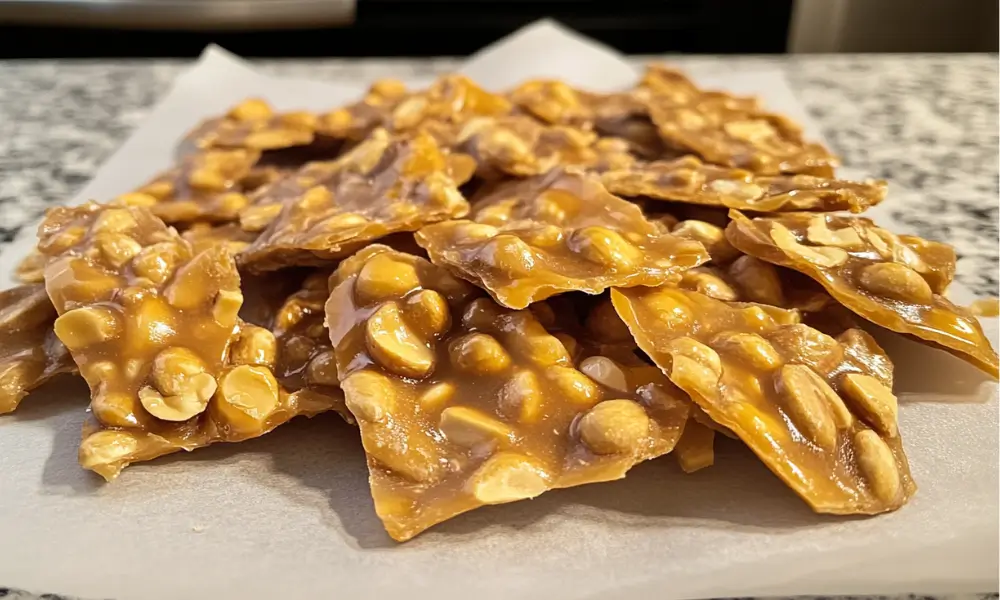
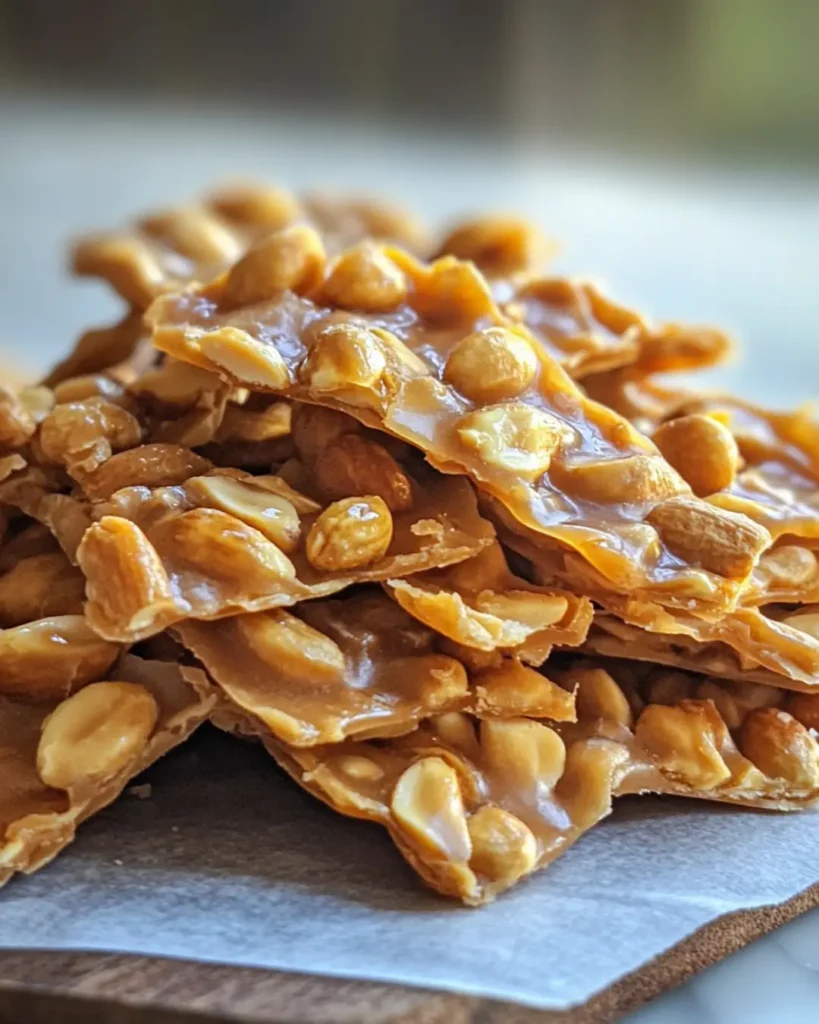
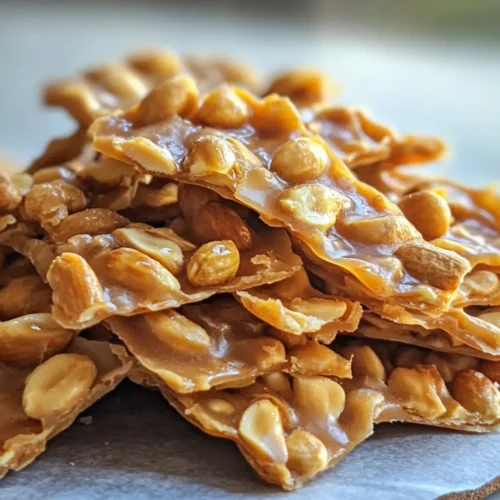
Looking for a crunchy, sweet treat that fits your healthy lifestyle? This sugar-free peanut brittle checks all the boxes. Made with just a handful of simple ingredients and a touch of that Kismet Recipes magic, it’s a feel-good twist on a classic candy, perfect for sharing (or not!).
Table of Contents
Why You’ll Love This Recipe
- All the crunch, none of the sugar – Sweetened with allulose and erythritol for that classic brittle bite, minus the guilt.
- Low-carb and diabetic-friendly – A smart indulgence for anyone watching their sugar intake.
- Simple and freezer-ready – Easy to make, with ingredients you likely already have in your kitchen.
Let’s gather what you’ll need to get started.
Gather Your Sweet, Smart Ingredients
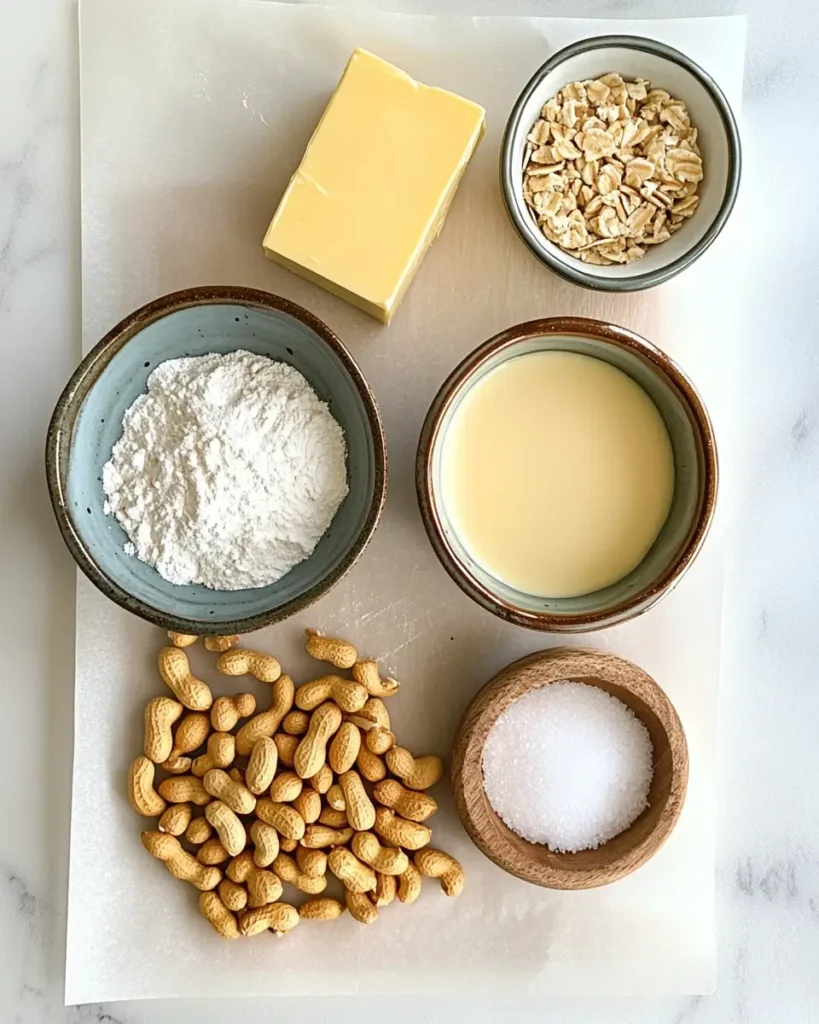
Every recipe has its heart, and here, it’s a smart swap of sweeteners. We’re keeping things real and accessible while embracing the creativity Kismet Recipes stands for. Here’s what you’ll need:
- 4 tablespoons butter
- ¾ cup allulose (the magic behind our sugar-free sweetness)
- 2 tablespoons erythritol-based sweetener (adds balance to the sweetness)
- 1 cup unsalted dry roasted peanuts (hello, protein-packed crunch!)
- ⅛ teaspoon baking soda (adds that signature airy lift)
- 1 teaspoon pure vanilla (for warmth and depth)
- ⅛ teaspoon sea salt (just a pinch to round out the flavors)
These humble pantry staples create something truly crave-worthy—and still easy enough for a weeknight treat. Ready to cook up some golden deliciousness?
Crafting Crunch: How to Make Sugar-Free Peanut Brittle
This step-by-step process honors tradition while embracing a modern twist. Keep your senses engaged—candy-making is just as much about timing as it is about flavor.
- Prep like a pro: Line a baking sheet with parchment paper and set it nearby. Trust us—you’ll need it ready to go in a flash.
- Start with the butter: Melt it gently in a small, heavy-bottomed saucepan over medium-low heat.
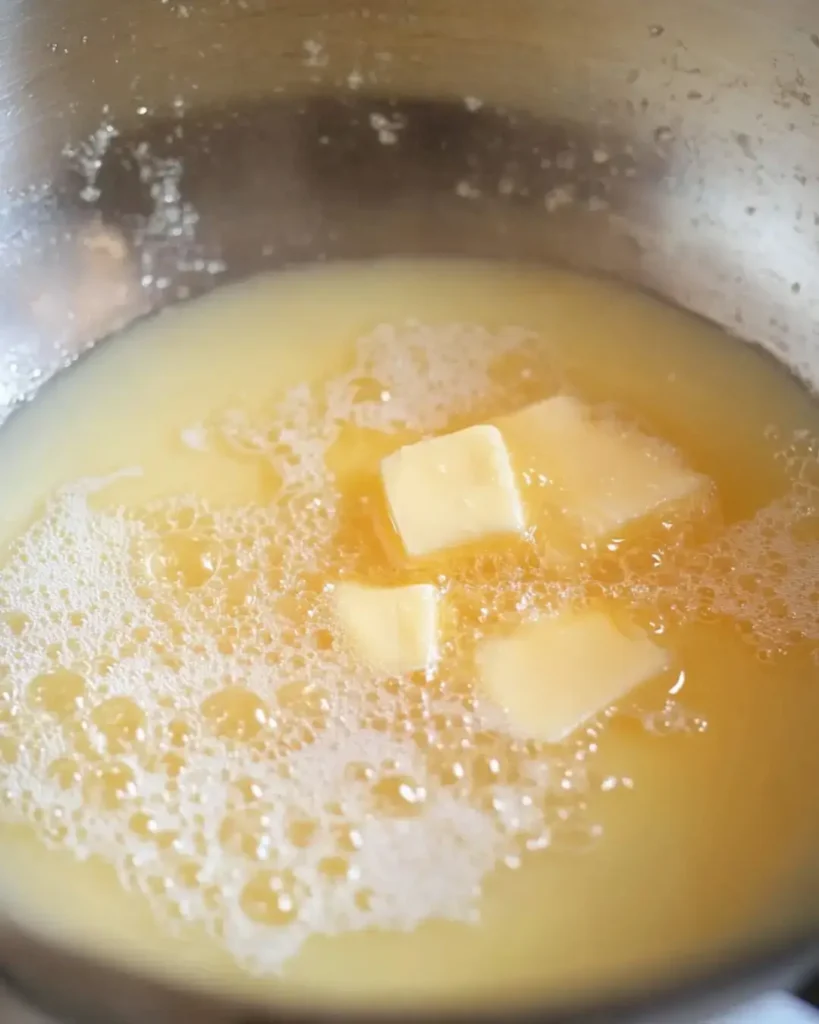
- Add your sweeteners: Stir in the allulose and erythritol-based sweetener. Keep the heat medium to medium-low—patience is key here.
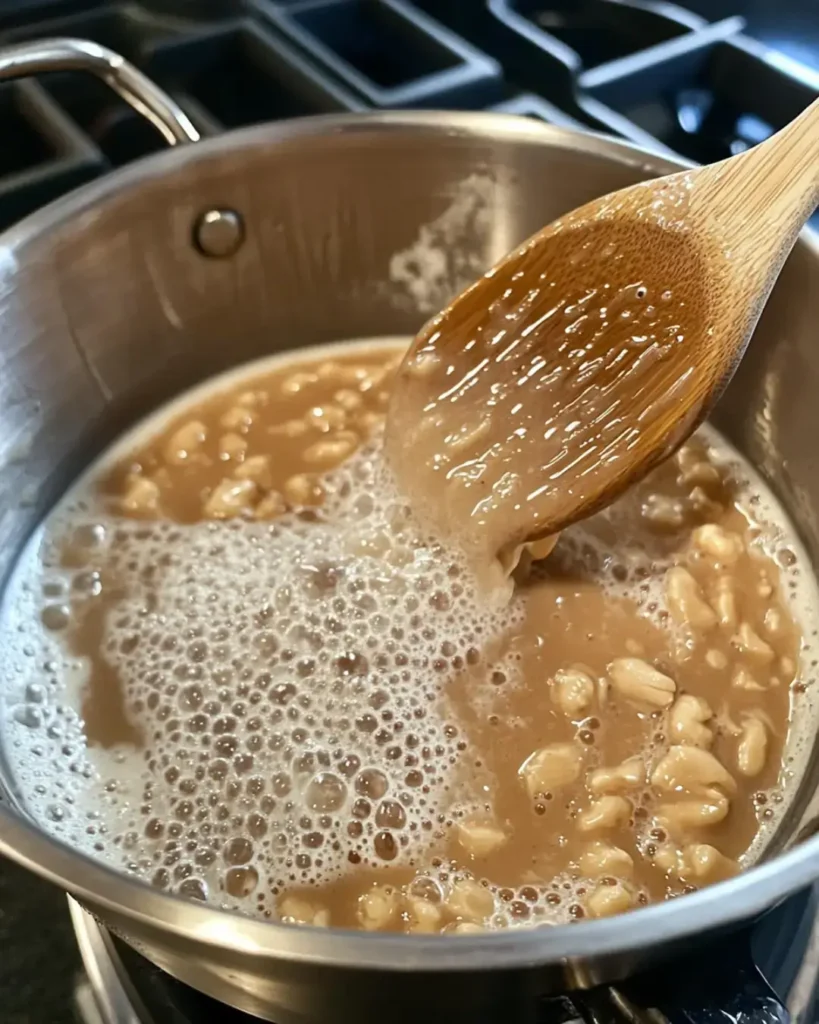
- Stir the sugar mixture continuously as it heats. It will transition from a greasy appearance to golden, then become bubbly and foamy. Once it reaches 310°F, remove it from heat immediately to prevent burning. For a detailed guide on sugar stages, refer to this candy temperature chart.
- Stir in the good stuff: Add your peanuts, baking soda, vanilla, and sea salt. The mixture will foam—this is normal and exciting!
- Spread and cool: Pour onto your prepared baking sheet and spread it quickly into a thin layer.
- Chill to finish: Once completely cool, transfer it to the freezer for 15–30 minutes to harden fully. Then break into delicious, jagged pieces.
From stovetop to freezer, this brittle comes together with love and just a little bit of kitchen magic. But even the best recipes can go sideways—so let’s talk about what to avoid next.
Slip-Ups to Skip: Common Mistakes to Avoid
Making candy at home is a fun adventure—but it does require a little care. Avoiding these common mishaps will help ensure your sugar-free peanut brittle turns out golden, crunchy, and delicious every single time.
- Cranking up the heat: It’s tempting to speed things up, but high heat can burn your mixture before it reaches the right texture. Slow and steady wins the brittle race.
- Skipping the thermometer: This isn’t the time to eyeball it. Reaching exactly 310°F (the “hard crack” stage) is crucial for that signature brittle snap.
- Waiting too long to spread: Once you stir in the peanuts and vanilla, move fast! The mixture hardens quickly, so pour and spread it immediately.
With these easy fixes, you’re already on the road to candy success. Now let’s make it even better with a few expert tricks.
Sweet Success: Pro Tips for Better Brittle
Here at Kismet Recipes, we believe in sharing the little tips that make a big difference. These will help elevate your sugar-free peanut brittle from “good” to “unbelievably good.”
- Use a heavy-bottomed saucepan to distribute heat evenly and prevent scorching.
- Toast your peanuts beforehand (even if dry roasted) for an extra layer of nutty depth.
- Stir often, but not constantly—you want to keep things moving without introducing too much air.
- Freeze to finish: This sets the brittle beautifully and adds an irresistible chill to every bite.
Feeling confident? Great. Let’s add one more twist that takes this recipe from practical to playful.
Bonus Twist: Make It Your Own
Want to get creative? This recipe is wonderfully flexible, so go ahead and infuse your personality into it—because at Kismet Recipes, cooking is about joy and self-expression.
- Add a pinch of cinnamon or cayenne for a subtle kick.
- Swap in chopped almonds or hazelnuts for a gourmet nut blend.
- Drizzle with sugar-free dark chocolate once set for an extra indulgent finish.
Little changes, big impact. Once you master the base, there’s no limit to the tasty variations you can create.
Ways to Serve and Savor
This sugar-free peanut brittle isn’t just for snacking (although it’s perfect for that!). Try these joyful serving ideas to bring connection and creativity to every occasion:
- Gift it: Wrap pieces in parchment and tie with twine for thoughtful, homemade treats.
- Crumble over ice cream: Add crunch to your favorite low-carb frozen desserts.
- Mix into yogurt or trail mix for a sweet-and-salty pop of texture.
- Serve with coffee or tea: A little crunch makes every sip feel special.
Whether it’s part of your holiday spread or a cozy movie night snack, this treat brings sweetness to any moment.
Sugar-Free Peanut Brittle
Ingredients
- – 4 tablespoons butter
- – ¾ cup allulose
- – 2 tablespoons erythritol-based sweetener
- – 1 cup unsalted dry roasted peanuts
- – ⅛ teaspoon baking soda
- – 1 teaspoon pure vanilla
- – ⅛ teaspoon sea salt
Instructions
- Line a large baking sheet with parchment paper and set aside.
- In a small, heavy-bottomed saucepan, melt the butter over medium-low heat.
- Stir in the allulose and erythritol-based sweetener. Over medium to medium-low heat, bring the mixture to 310°F, stirring frequently.
- Once it reaches 310°F, immediately remove from heat to avoid burning.
- Stir in the peanuts, baking soda, vanilla, and sea salt. The mixture will foam.
- Pour the mixture onto the prepared baking sheet and spread it quickly into a thin layer.
- Let it cool completely. Then transfer it to the freezer for 15–30 minutes until fully hardened.
- Break into pieces and serve. Store in a sealed container or freezer bag in the freezer for up to 3 months.
Notes
- Use a candy thermometer for accuracy—310°F is the magic number for perfect brittle.
- Toast the peanuts beforehand for extra flavor depth.
- You can customize with cinnamon, cayenne, or drizzle with sugar-free dark chocolate for variation.
FAQs: Your Questions Answered
Can a diabetic eat peanut brittle?
Traditional peanut brittle is high in sugar, but this sugar-free version is sweetened with allulose and erythritol—both diabetic-friendly alternatives. Still, it’s wise to check with your doctor before adding new treats to your diet.
What are the ingredients in See’s sugar-free peanut brittle?
While See’s doesn’t disclose every detail, their sugar-free version typically includes maltitol, which some people prefer to avoid. This homemade recipe uses allulose and erythritol instead, making it easier to digest for many.
Does sugar-free peanut butter exist?
Yes! Many natural peanut butters contain only peanuts and salt. Check the label to make sure there’s no added sugar—perfect for low-carb and keto lifestyles.
How many calories are in sugar-free peanut brittle?
While it varies by portion size, sugar-free peanut brittle generally has fewer calories than traditional versions—around 90–120 calories per serving, depending on your nut and sweetener choices.
Still curious or looking to customize further? Let us know—at Kismet Recipes, we’re always excited to support your creativity in the kitchen!
One Sweet Ending
In the end, this sugar-free peanut brittle is more than just a treat—it’s a delicious reminder that eating well doesn’t mean sacrificing joy. With its crackly crunch, golden glow, and feel-good ingredients, it’s destined to bring smiles and connection wherever it’s shared. That’s what Kismet Recipes is all about: flavor that brings us together, one joyful bite at a time.